
How to Build a Pandora Bracelet: Charms, Clips and Size
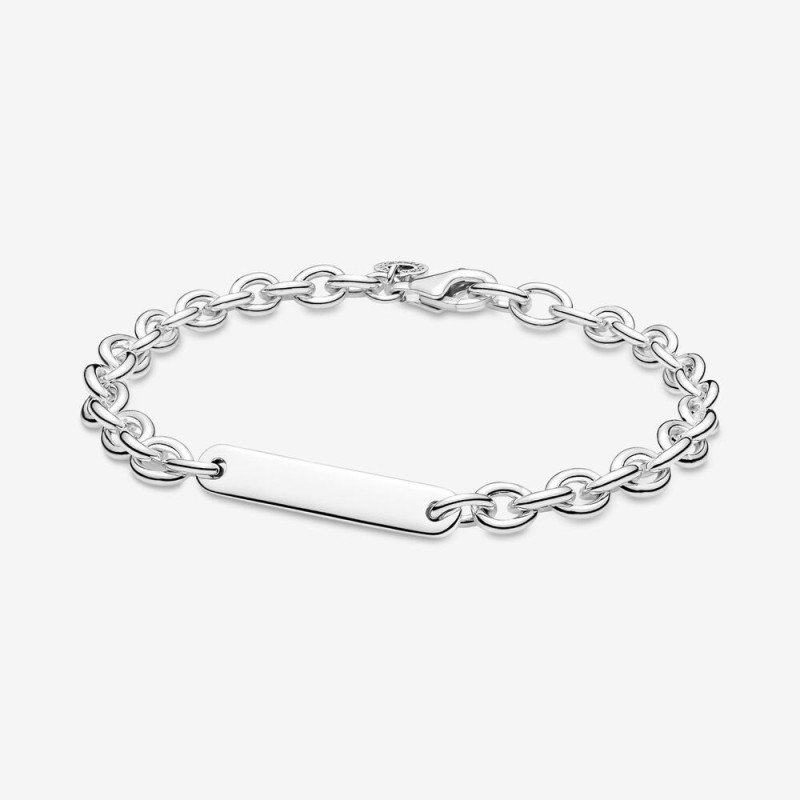
From the Alexander Gioielli collection
The beauty of a Pandora bracelet is that you build it yourself: every charm tells of a moment, a journey, a person. But with so many possibilities it is easy not to know where to start. In this guide we look at how to build a Pandora bracelet step by step — from choosing the base to the charms and the right size — to create a personal, balanced piece of jewellery.
In short: Start with the base bracelet, position the clips to divide it into sections, spread the charms alternating sizes and fill the gaps with spacers. For size, you usually choose a bracelet about 2 cm larger than your wrist circumference, and there is no need to fill it straight away.
1. Choose the base: the bracelet
Everything starts with the base bracelet, on which you will mount the components. The most common types in the modular system are:
- Snake chain bracelet with barrel clasp: the classic, with an internal thread that holds the charms in place.
- Bangle: a more minimal, modern line.
- Chain or leather bracelets: for looks different from the classic.
The metal colour (silver, rose gold, gold) will define the style of the whole composition: choose it first and keep a consistent line.
2. Get to know the components
A modular bracelet is built from different elements, each with a function:
- Charms: the stars. Themed pendants (hearts, letters, symbols, travel, special occasions) that slide onto the bracelet.
- Clips: they “lock” onto the bracelet and serve to hold the charms in sections, stopping them sliding from one side to the other. They divide the bracelet into tidy areas.
- Spacers: small elements that fill gaps and create rhythm between one charm and the next.
- Dangle charms: hanging pendants that add movement.
- Safety chain: an optional accessory that adds protection to the clasp, useful when the bracelet is full of important charms.
3. The rule of a balanced composition
For a harmonious rather than random result:
- Start with the clips: placing them first divides the bracelet into symmetrical sections (e.g. two clips creating three areas).
- Spread the charms across the sections, alternating large and small pieces so as not to “weigh down” one side.
- Use spacers to fill gaps and keep the charms in position.
- Balance colours and themes: a common thread (a colour, a theme) makes the composition recognisable.
- Don't fill it all at once: leave room for the charms you will add over time. That is the beauty of a modular bracelet — it grows with you.
4. The right size
Size matters because the bracelet, once full of charms, “shortens” slightly around the wrist:
- Measure your wrist circumference (see the string method in the guide How to measure your ring size, which also works for the wrist).
- As a general rule, choose a bracelet about 2 cm larger than your wrist circumference, so the charms have room and the bracelet hangs well.
- If you plan to fill it with many charms, it is better not to go too tight.
5. Ideas to get started (and to give as gifts)
A Pandora bracelet is also a gift that is built over time:
- Starter gift: base bracelet + one meaningful charm. The recipient can then add to it.
- Special occasions: adding a charm for every birthday, anniversary or trip creates a “diary” to wear.
- Themes: initials of loved ones, symbols of passions, favourite places.
Discover the Pandora collection at Alexander Gioielli and find the base and charms to get started.
6. How to care for it
Silver components should be looked after like any silver jewellery: away from humidity, perfumes and harsh products, and cleaned gently. You will find the methods in the guide How to clean silver jewellery.
Conclusion
Building a Pandora bracelet is simple if you start from the right base, use clips to create order and leave room to grow over time. Explore the Pandora collection and our selection of bracelets and jewellery. For advice, contact us.
Find the base and charms to build your bracelet: discover the Pandora pieces available now.
Discover Pandora jewellery